Convention Raider Tutorial
When I make patterns going forward, I’m going to be providing video tutorials along with a comprehensive set of illustrated instructions that come with the pattern pieces! The Convention Raider video may be found here:
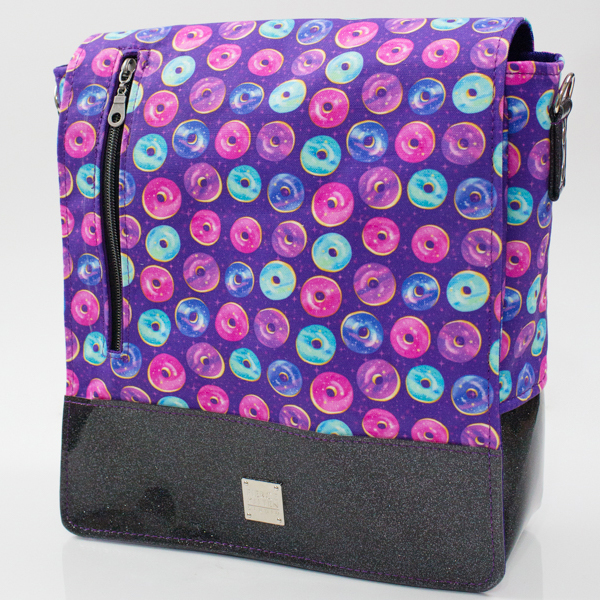
Introducing the Mighty Messenger!
During this year’s St. Jude PlayLIVE season, my Twitch community helped unlock a milestone through donations, which would have me design a new messenger bag pattern. I’m rather new to the “bag designer” scene, so these things make me nervous. Will the pattern be easy to understand? Are there enough illustrations? Should I provide a video? In any case, I landed on making a commuter-style messenger that is neither feminine nor masculine. It is a simple bag with many options for sewists of every level, though I do advise you have some experience with zippers before diving in!
The flap features a zippered slip pocket. I put this here, because the flap is massive and needed something to make it somewhat useful other than a decorative piece. Many of the messenger bag patterns out there have a short flap and look odd in a lot of ways. I wanted this flap to have a purpose. The slip pocket is great for a small wallet or phone (note: my iPhone 8s Plus fits!).
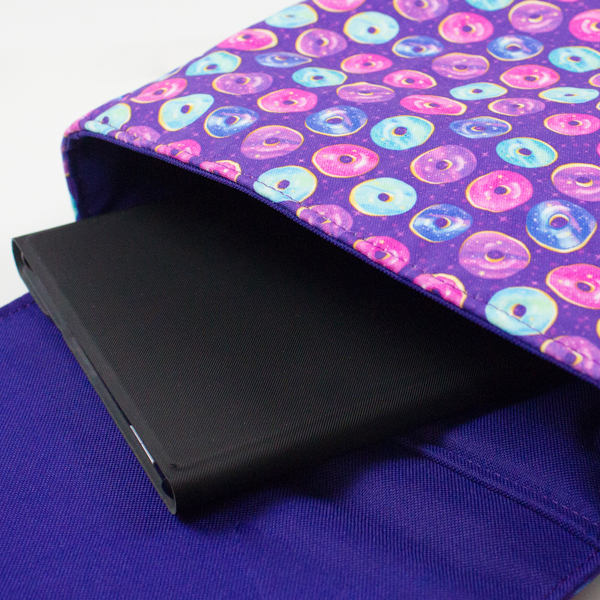
For the interior, I designed it to have another zippered pocket and an electronics slip pocket. It’s definitely big enough for a tablet device; however, larger tablets such as a Surface Pro or an iPad Pro 12.9″ will need to be held loose in the bag instead of in the slip pocket.
The dimensions of the bag are 11″ tall, 10″ wide, and 3″ deep. It can be enlarged or shrunk if sewists would like to make a larger or smaller version.
The Mighty Messenger sewing pattern is available now! 50% of all proceeds are donated to St. Jude PlayLIVE on the first of every month. As an added bonus, Lauren of MoreMeKnow.com is also running a special on a hardware kit, where she is also donating 50% to St. Jude PlayLIVE!
Mighty Messenger Pattern:
https://shop.fiercekitten.com/patterns/might-messenger-sewing-pattern
MoreMeKnow Hardware Kit: https://moremeknow.com/products/mighty-messenger-bag-hardware-kit
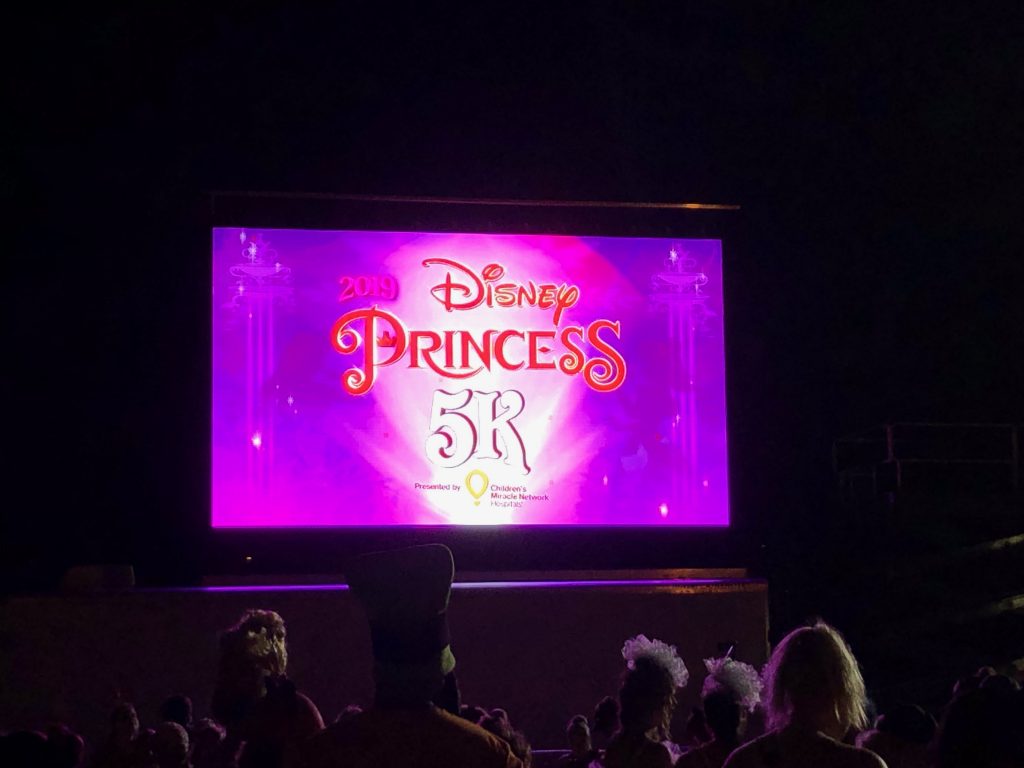
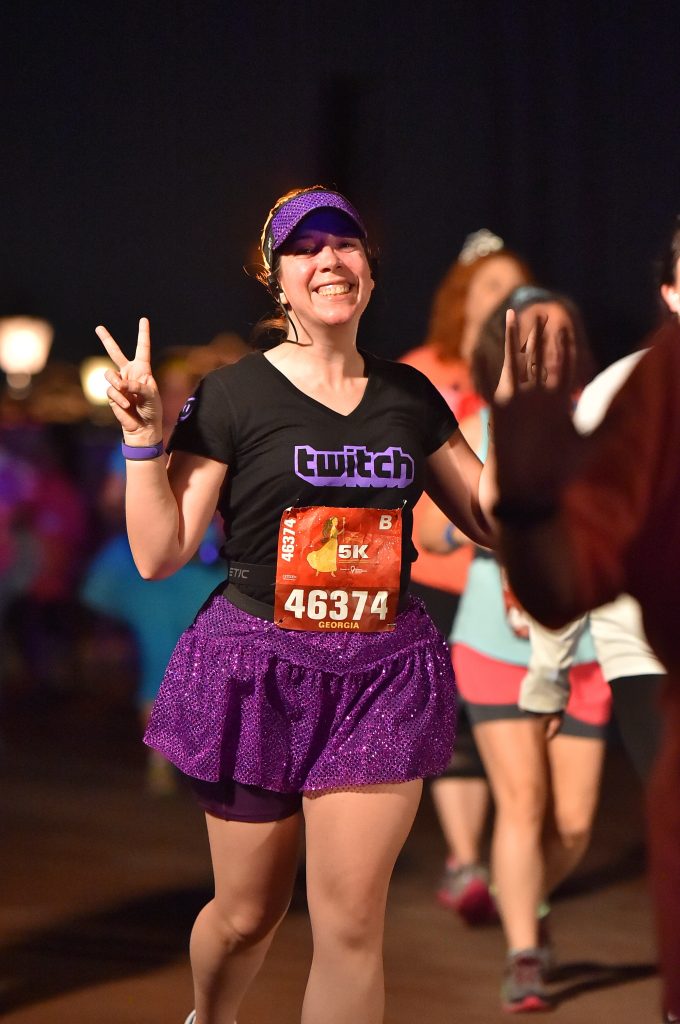
runDisney 2019 Princess 5k – Thoughts from a First-Timer
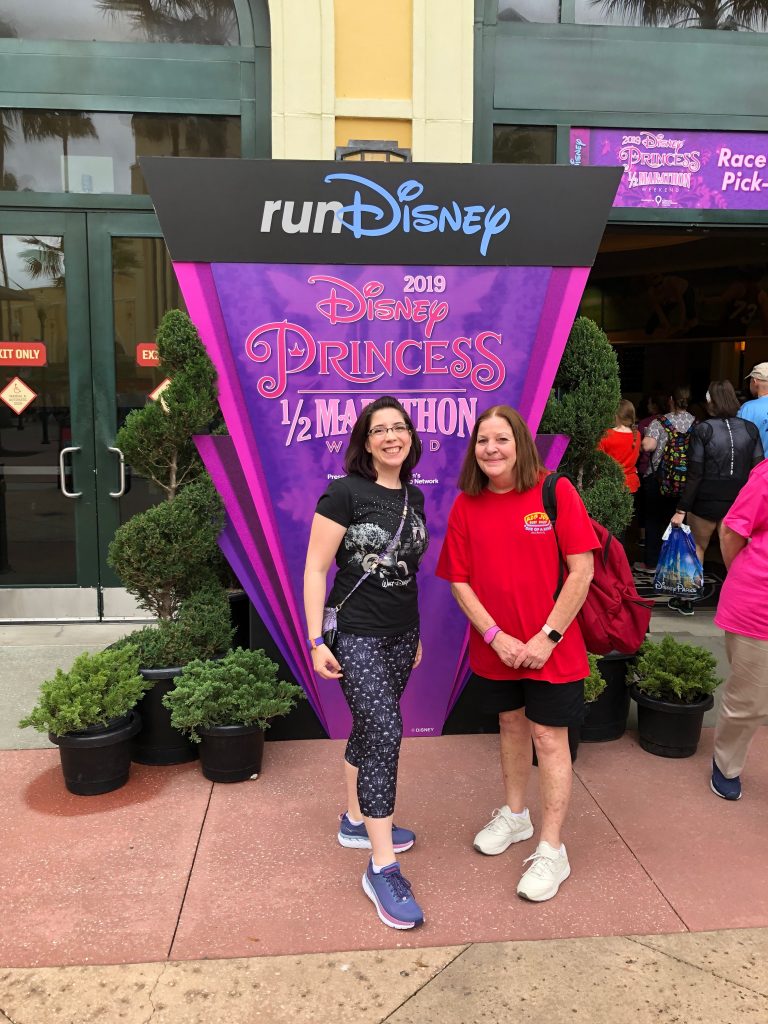
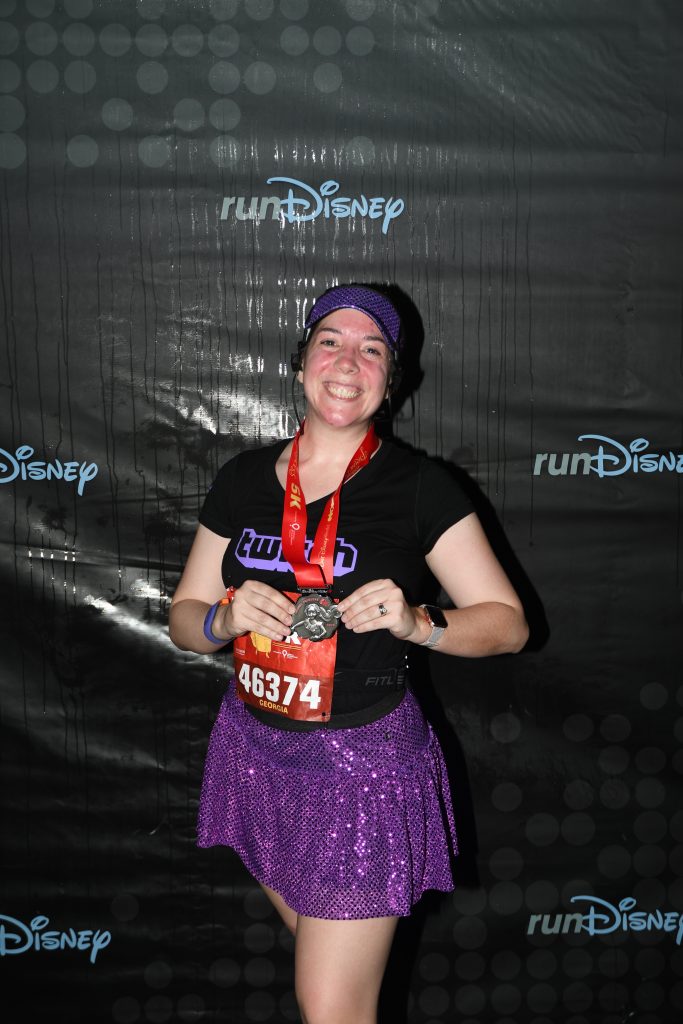
I’ve been considering doing runDisney events for a while now thanks to my friend and fellow streamer, Imperialgrrl. I’m a massive Disney fan (aka “Mousejunkie”) and an annual passholder even though I live in Texas. I signed up for the Princess 5k (a skant 3.1 miles) last Summer even though the race wasn’t going to be until mid-February. I also brought my mother with me for a kid-free getaway weekend. We were able to nab a 5k bib for her the Tuesday before the race, so she was able to do the event with me.
We got in Thursday morning, checked in to our resort and headed right for the ESPN center for the Expo. Each resort will have buses specifically for the Expo and race events. You just walk out to the main bus depot and they will be on the far end. From what we could tell, all of those buses were charter buses, not the typical Disney transportation buses. The Expo center is where you go to collect your bib, t-shirt, and any preorder items you may have purchased when registering for the race. It’s also the only way to purchase the official runDisney merchandise for the event. I didn’t purchase much, since I was only running the 5k and didn’t want to be a pleb walking around in a challenge shirt when I wasn’t doing the challenge.
We woke up the following morning at 2:45am. Mom wanted to wake up more around 2am, but I wasn’t going to let THAT happen. We needed to be outside and ready to hop on a bus by 3:30am. The race didn’t start until 5:30am, so I didn’t understand why until we got there and saw what was up.
Essentially, you get on the bus and head to the staging area for the race. The staging area has bleachers, entertainers hyping everyone up, food, beverages, medical care, etc. You won’t immediately be pushed into your corral. This gives you time to use one of the many porta-potties available and possibly get in line to meet some characters. Make sure to use the restroom… trust me! You can stop and use the ones in the parks, but on longer races, be prepared to have to peel off for questionable portable potties.
Ideally though, you want to head right for your corral as soon as the gates open up. The reason for this is simple: in timed races, you want to have as much lead time as you can get over the “balloon ladies.” Thankfully, the 5k isn’t timed. I opted to only do the 5k this weekend so I could feel out runDisney before committing to more, as they aren’t cheap. I also only opted to do the 5k, because I didn’t want to be a disgruntled sloth while also trying to show my mother around the parks after 2:45am wake-up calls 3 days in a row.
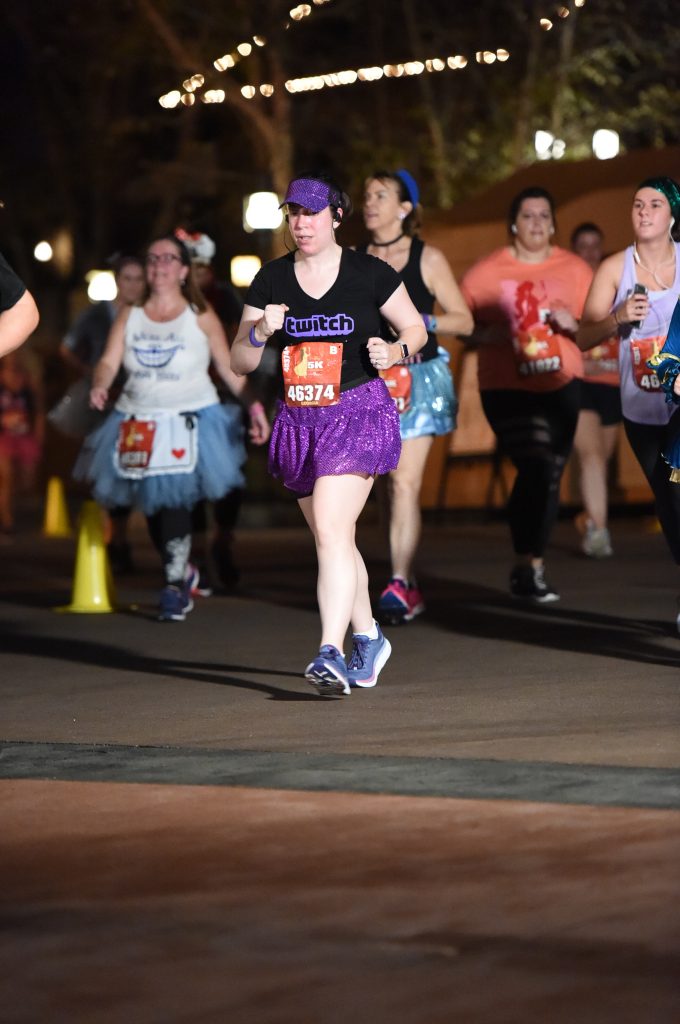
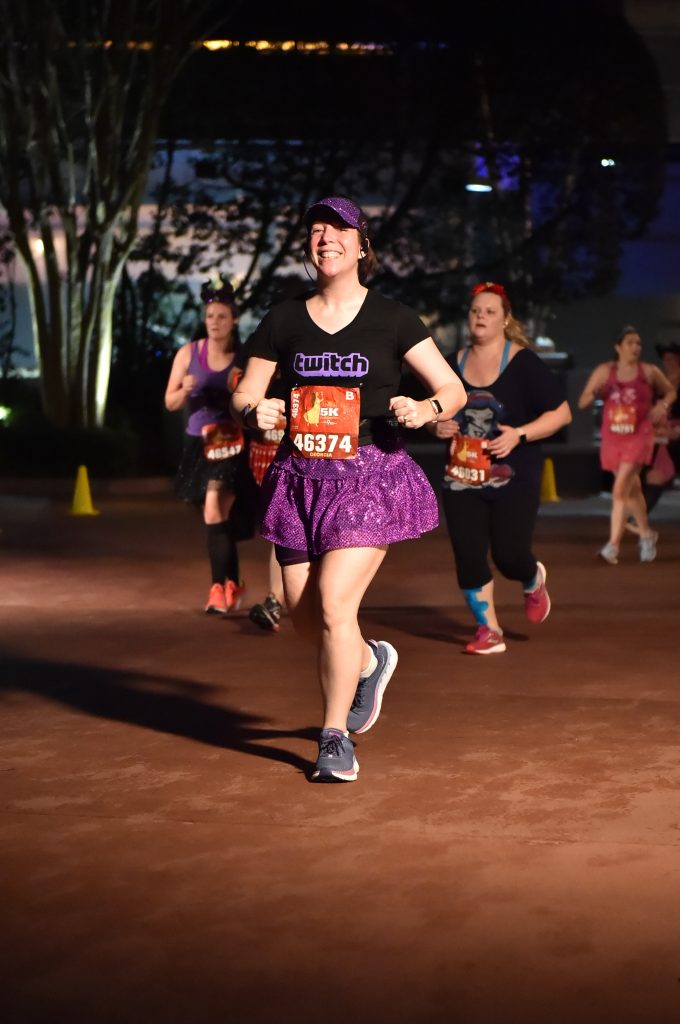
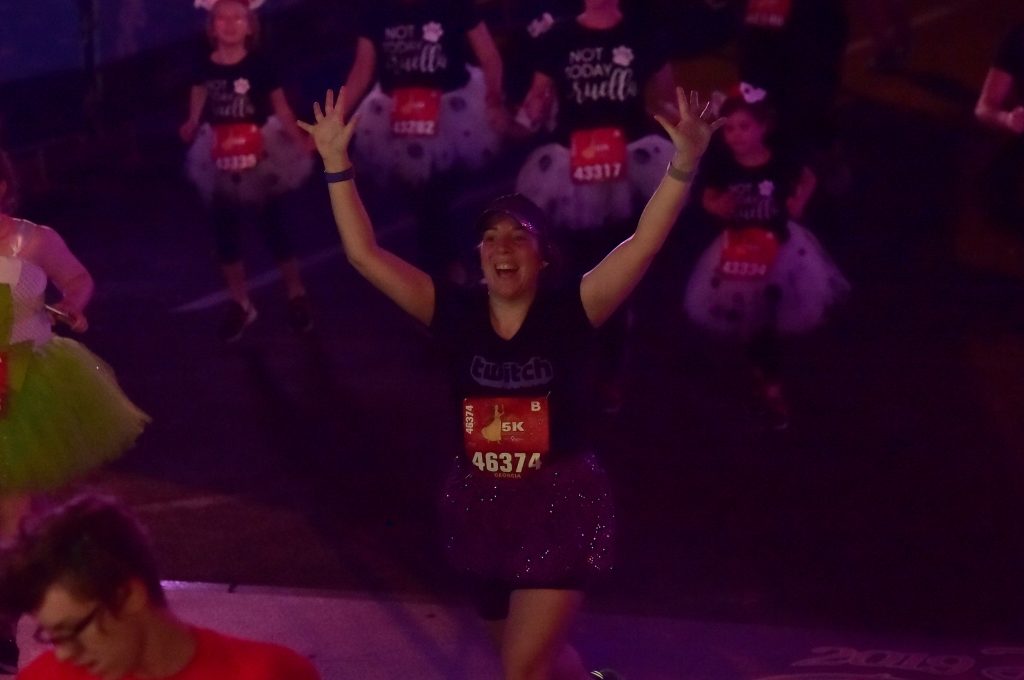
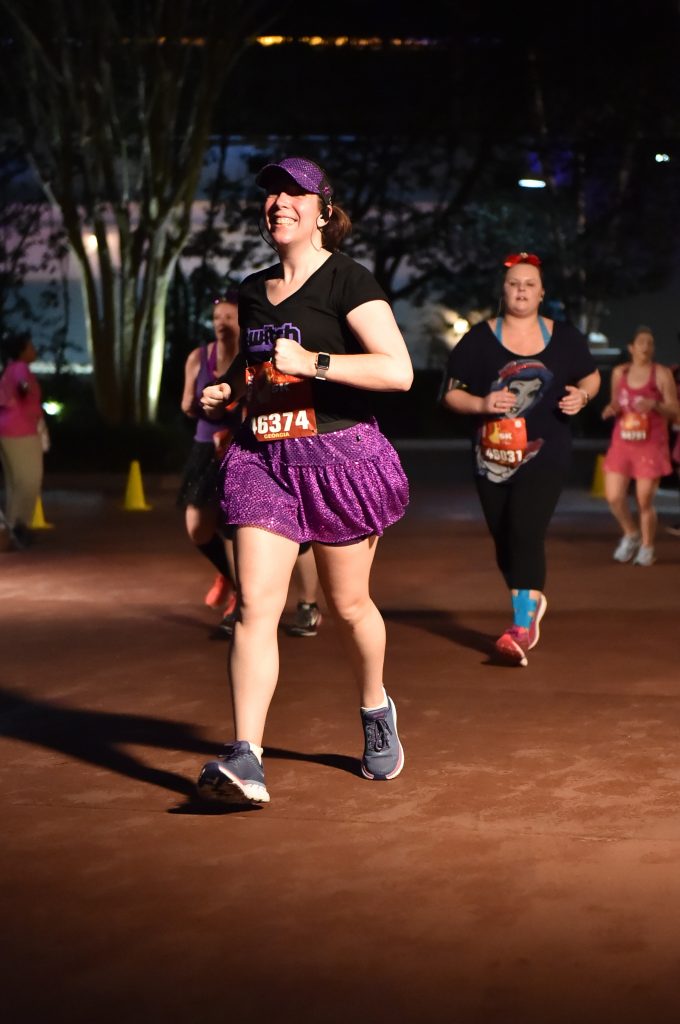
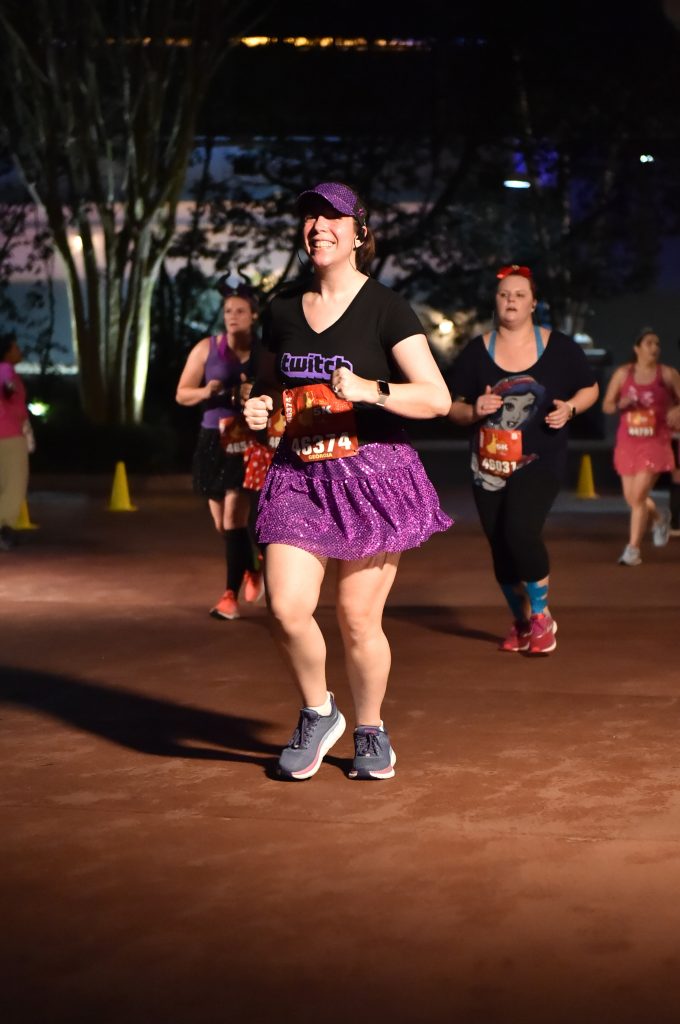
The race started at 5:30am, but being in corral B, one of the first few waves, we didn’t start until just after 6:00am. runDisney will release people in waves for safety reasons. Believe me, there’s a lot of people! For the 5k, a lot of people walk; however, I sank a lot of money and time into training and having good gear. Plus, I dressed as a pretty pretty Twitch princess. I didn’t want to walk. I wanted to RUN.
Our wave pulled up to the start line, the fireworks went off, and as I crossed, I began to run, and I didn’t stop.
When you’re training, you’re in your neighborhood, on a track, or on a gravel track behind your office building because god forbid you use the gym treadmill. Training is boring. Disney isn’t. People were happy, walking, strolling, power walking, prancercizing their way around Epcot with the biggest grins on their faces. Fun costumes and volunteers cheering you on with cowbells and whistles were at every step to greet you and push you forward. The energy was palpable.
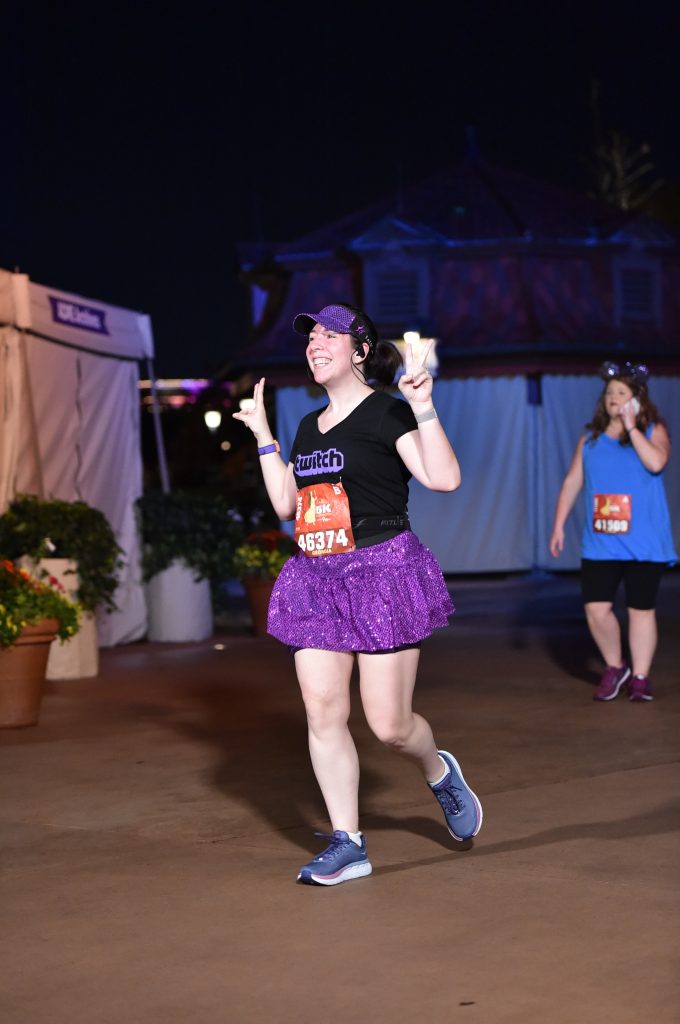
I walked only a little bit of the full 3.1 miles I had to cover. As the route took a sharp left at Test Track, I slowed down to a walking pace, because the concrete there was wet and people were slipping. It was dangerous and I didn’t think it was worth the risk to shave 30 seconds off my pace.
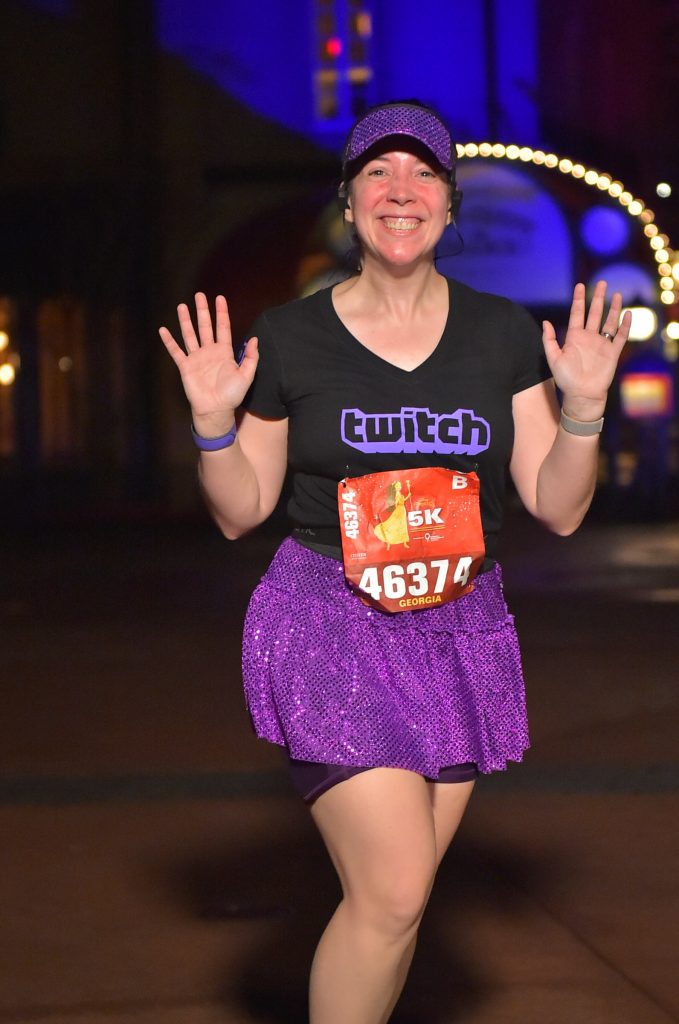
I ended up finishing the whole thing in 38 minutes. I kept up a 12:37 minute mile pace. That’s pretty darn good, seeing as how in all of my training, Runkeeper and my Apple Watch kept telling me I was more a 13:30 minute mile. I don’t think I’d push myself this hard at the 5k level if I was going to do the 10k and the Half marathon throughout the weekend though. That would have been a bit dumb for a newbie runner.
I’m absolutely in love with runDisney and look forward to going back in April for the Star Wars Rival Run. I’ve signed up for all three races and the virtual, so I should walk away with six medals that weekend! I only have a mere 33 days left to get trained up. A full VOD of my review can be found here:
As far as lessons learned, here’s a list of what I took away from this weekend: https://www.twitch.tv/videos/388594660
- HYDRATE – depending on where you’re from, training is likely under different conditions than murky Florida weather. It was pretty darn hot and humidity levels were above 90%. Even being from Texas, I wasn’t prepared for the humidity. Drink lots of water, consume electrolytes leading up to the race weekend. Remember: plants crave electrolytes!
- If you’re of the female persuasion, or just love skirts, grab Spark Skirts. My mother and I bought four during the expo and wore them through the weekend. Seriously the best thing ever. The compression shorts underneath have pockets large enough to fully hide an iPhone 8s Plus.
- Go to bed early. I regret not hitting the pillow until 10pm on Thursday night. From now on, it’ll be an 8pm lights out for this runner!
- Eat a protein bar or banana before heading out to the bus, or while waiting for the corrals to open. You don’t want to eat it too close to the start time, because you want food to settle, but it’ll help on a longer run. Even with the 5k, I felt a bit weak there at the end and scarfed back the food box at the end.
- Lots of people walk. Do not feel ashamed if you have to stop to rest. It’s a fun run, not a run for money or prizes. If this were a timed race (10k+) you’d need to keep a 16 minute mile. That’s a literal walking pace. You’ll be fine.
Bag Hardware and Supplies
I am an open book when it comes to where I source my supplies, because I want these smaller businesses to succeed! Here is a list of my suppliers for my various bag-making exploits:
WonderClips: http://tinyurl.com/h2uxnrk (a great alternative to pins!)
Zippers: http://www.zipperstop.com (specifically I grab the #3 dress zippers, sometimes #4.5 with handbag pulls for larger purses.)
Glitter Vinyl: http://www.mikriworldllc.com
Metal Hardware: I source things from multiple places, but largely I grab magnetics just from whatever I can find on Amazon Prime and buy in bulk from Country Brook Design (http://www.countrybrookdesign.com).
Industrial Sewing Machine Supplies: Oil, needles, and specialty feet for my Juki DU1181-N can be found at Gold Star Tool (http://www.goldstartool.com).
Acrylic Patterns: http://www.topsandbobbins.com/
Interfacing: Just good old fashioned Joann Fabrics! I wait until a 50-60% coupon is available and buy it by the bolt. Note if you want Vilene’s version of Decovil I or Decovil Light, you need to see Barb’s Interfacing (http://www.gotinterfacing.com).
Custom Fabric Printing: I tend to order the Kona Cotton or Linen Cotton Canvas from Spoonflower (http://www.spoonflower.com).
Custom Metal Bag Tags: I sourced these from a company in China through Alibaba (https://gztopwin.en.alibaba.com/?spm=a2700.details.cordpanyb.1.5869b9db1nMBOU). They took about 20 days from start to finish to ship. Bear in mind that orders like this should be done in bulk (e.g. 200+). Pricing will depend on the size and complexity of your logo design, but I paid about $0.50 per tag plus the cost of the mold. The mold is a one-time fee. Reorders won’t require it.